Portable Vocal Isolation Booth Design Plans DIY
Share
Hardly anyone has fat enough pockets to afford a fully enclosed isolation booth with full coverage of acoustic foam to record vocals. Some of us don’t even have the space for a vocal booth in our home or apartment.
There are many cheap and easy ideas for creating your own diy vocal booth or portable vocal booth. This is one of the ideas we came up with.
List of materials:
- 4 pieces of plywood (or any kind of flat board)
- Dimensions = 24 in x 12 in x 0.25 in
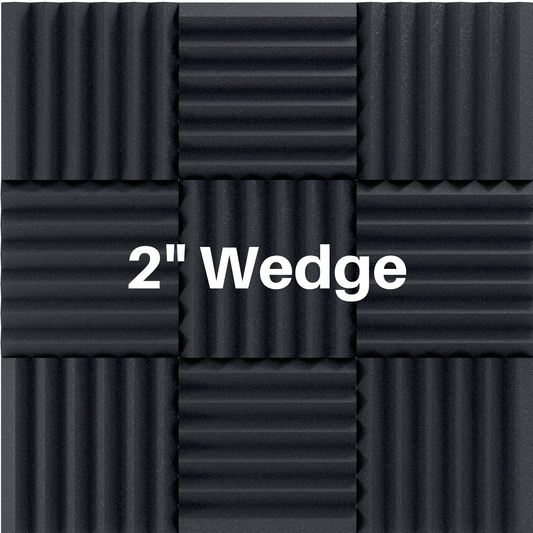
- 8 pieces of 2” thick acoustic wedge panels
- Need qty 2 x 4 packs (sold here)
- Adhesive
- 6 small hinges
- Handles (optional)
- Rubber non slip grippers (optional)
Step 1: Sand the wood. Sand each piece of plywood so that there is no rough surfaces or splintered wood.
Step 2: Install hinges. Make sure that the hinges fold in. Mark the placement with sharpie, dill pilot holes with a small drill bit and then secure the hinges with screws.

Step 3: Mount acoustic foam. Use adhesive squares, spray adhesive, double sided tape or liquid nails to secure the foam to the boards. Make sure to press hard for at least thirty seconds so the adhesive can form a good bond with the acoustic foam.

Step 4: Install handles. The handles we used required two small screws to mount. We mounted our handles on the back of the two outer wood panels. Drill pilot holes with a small drill bit and then secure handles with screws.

Step 5: Install non slip grippers. Mount the non slip grippers on the bottom of the unit. The ones we used were self adhesive.
Step 6: Record!
This portable vocal booth site nicely on top of a bookshelf we have and does a great job recording vocals!
There you have it! Your very own microphone isolation shield that looks nice and will help you get better recordings for years to come!


Happy recording!
Contact Us with any questions!
Read More:
See A Smaller And Cheaper Version Of This!
What Is A Condenser Microphone & How Does It Work?
DIY Vocal Booth For Home Studio


