DIY Isolation Vocal Booth For Home Studio & Recording On The Go

Do you create audio recordings at home? Do you have a home music studio? Maybe you need a portable vocal booth for on the go recordings?
If so, you need to check out this easy and cheap DIY isolation recording booth. This project is the perfect addition to any microphone and studio recorder. Not only can you use this at home, but you can bring this vocal booth anywhere! You will produce more crisp & clear vocals after constructing this simple portable vocal booth.
Portable Vocal Booth Instructions
Materials:
- 12” x 12” x 24” cardboard box (or similar)
- 3M adhesive squares or spray adhesive
- Tape
- Scissors
- Acoustic foam - approx 5 sq ft
Step 1: Construct the box by taping one side of the cardboard box shut. You can also use a box cutter to cut off additional flaps if desired. I left my box flaps on so it can be closed when not in use (to keep my cats out LOL).
Step 2: Cut acoustic foam panels down to size using scissors. For the 12” x 12” x 24” cardboard box I had to cut one wedge off of each side piece, and two wedges off of the top piece.
Step 3: Install acoustic foam inside of the box. Use spray adhesive or 3M adhesive squares to adhere foam to back, sides, and top of the box inside.
Step 4: Set up your mic inside of the box.
It’s that easy!
Boxes can be purchased at local packaging stores or big box stores. You might even be able to use one that is sitting around your house.
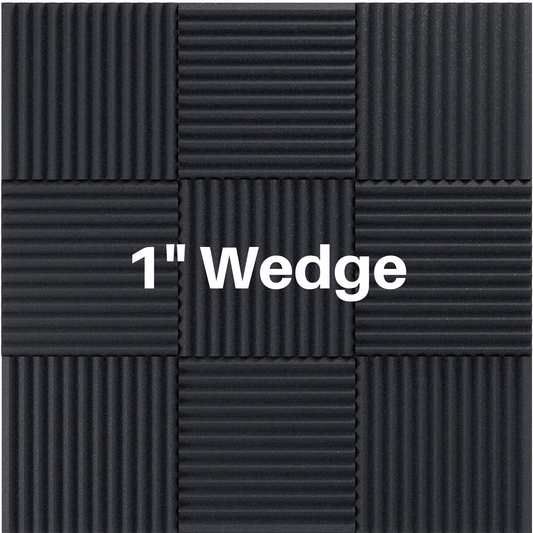
SoundAssured 1" acoustic foam is shown in picture. One six pack is all you need.
Click Here to buy some acoustic foam!
Click Here to buy a Blue Snowball Microphone!
Closet Vocal Booth Instructions
If you want a vocal booth that is more permanent, a closet vocal booth setup might be right for you. We work with a lot of voice over artists who turn their closet inside of their apartment into a professional sounding vocal booth.
Purchase our closet vocal booth bundle HERE.
Mic Placement
The first thing is to figure out where you will place your mic, and where you will be positioned when speaking, singing, or rapping into the mic. Once you have your mic position figured out you can start to plan the acoustic treatment.
Reflection Points
The only sound source in the room will be the vocalist, so the main reflection point will be on the wall where your voice is traveling towards. This is why it's important to have the mic position figured out first, because you will want to place the acoustic treatment on the wall behind the microphone. This will help to absorb the sound that is reflecting off of that wall and will make your vocals sound more clear and focused.
There are also some other reflection points in the areas around the vocalist.
- The ceiling above the vocalist and the microphone
- The side walls next to the vocalist
- The floor underneath the vocalist

Read More:
More about closet vocal booths HERE.
Portable Vocal Isolation Booth Design Plans DIY
What Is A Condenser Microphone & How Does It Work?