How To Treat A Vocal Booth

Building your own vocal booth is an exciting project that can be accomplished at home or in a professional setting.
Vocal booths of all sizes can be effective for recording vocals. Whether you have a small corner of a room, a closet, or a dedicated vocal room you can add proper acoustic treatment to get the sound you desire!
Check out our closet vocal booth acoustic treatment kit!
What acoustic treatment is best for a vocal booth?
Acoustic absorption is the desired acoustic treatment for a vocal booth. Our acoustic foam panels are a great option for acoustic absorption. Some other options are fabric covered acoustic absorbers, natural cork absorbers or DIY acoustic panels.
The vocal speech of an average adult male has a frequency range from 85 to 180 Hz, and an adult female from 165 to 255 Hz.
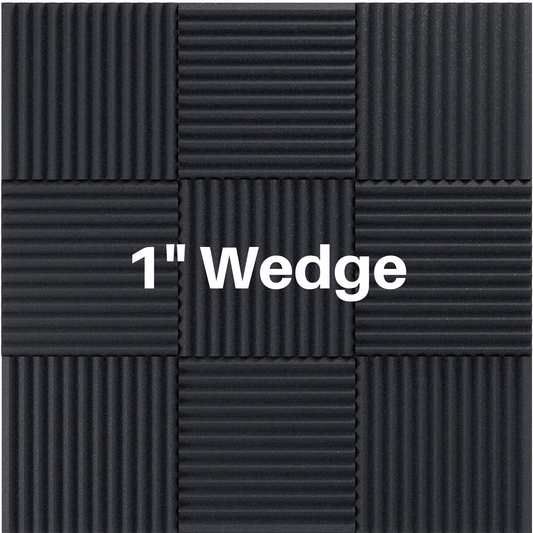
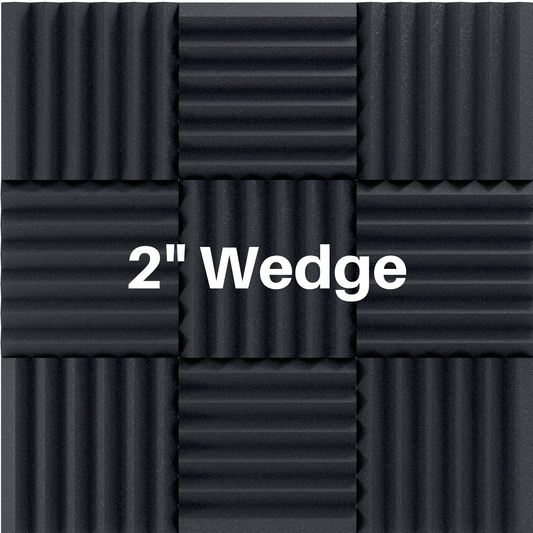
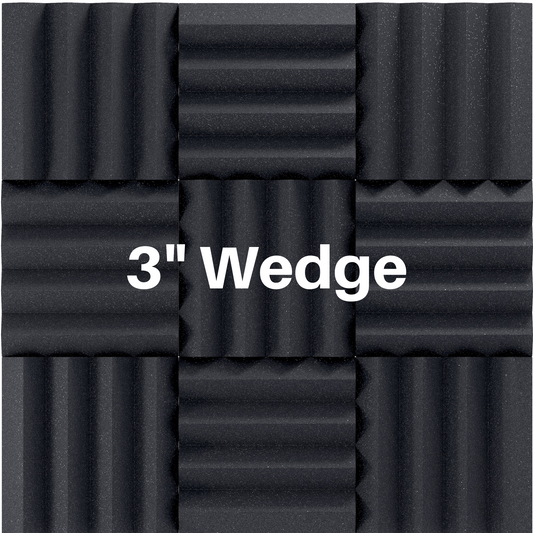
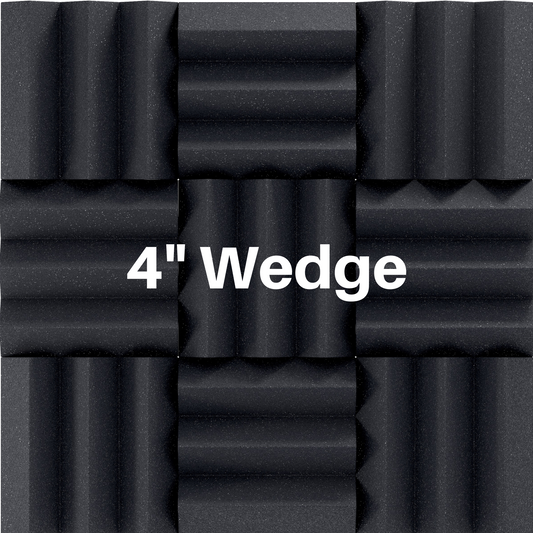
One inch thick acoustic foam will do the job if you are on a budget, but two inch thick or thicker foam is best. Below are the absorption ratings of our acoustic foam.

Check out our one, two, thee and four inch thick foam panels! Use code VOCALBOOTH for 10% off your order of $100 or more!
How much acoustic treatment does a vocal booth need?
When recording vocals it is better to have dry sound with little to no reverb. You can always add reverb after recording. It is hard to take reverb out of a bad recording!
To achieve a dry sound a fair amount of coverage of over 50% is recommended. Some vocal booth have up to 100% coverage. The important thing is that the reverberation time is 0.5 seconds maximum.
Flat surfaces reflect sound and cause echo and reverberation. For a vocal booth the flat surfaces will need covered with absorptive material like acoustic foam so echoes are reduced and reverberation time is lowered.
Where to place acoustic treatment in a vocal booth?
Place acoustic absorption at the reflection points. The reflection points for recording vocals are the areas you are speaking or singing towards. For example, if you are recording towards your computer at a desk the reflection point is behind your desk.
Coverage all the way to the floor is not necessary. Placing acoustic treatment towards the floor will not provide much benefit. It is good to stick to the top 75% of the wall and the ceiling.
Focus on the area where you will be recording. If you are recording in a bedroom and need to get vocal recordings with less echo you do not need to treat the entire room. Rather, you can focus on the area of the room where you will be recording like the corner, by your desk, or in a closet. Placing acoustic foam all around the room is not likely necessary.
Vocal booth setup ideas!
Corner of the room vocal setup:
Place acoustic absorption in the corner of your room on the wall and ceiling. Record facing the corner of the room to get crisp vocals.

Closet vocal booth setup:
Get similar results whether you use the full closet or use a portion of the closet for your vocal booth.

Place acoustic absorption inside your closet on the walls and ceiling. 50-100% coverage will get the reverb time down for ideal vocal recordings.

Room within a room vocal booth:
Building a room within a room to record vocals is a great way to isolate and get a low reverberation time. The setup is similar to a closet vocal booth. Click here to see the plans for this type.
This vocal booth was designed by Allan Tate!


Portable vocal booth shield:
Create a vocal shield using acoustic foam. The shield can be placed on your desk, bookshelf, or a table. You can record into the vocal shield to get recordings with less echo and reverb!
Click here to view plans for the below.

Click here to view the plans for the below vocal shield!

Dedicated vocal booth room:
A dedicated vocal booth rooms can be found in many professional studios. Getting the reverberation time below 0.5 seconds is a must! 70-100% coverage of acoustic absorption is ideal for dedicated vocal rooms!

If you still have questions we are glad to help you! Please contact us anytime!
Read More:
Will Acoustic Foam Soundproof A Room ?
Acoustic Treatment For Home Recording Studios - Multiple Design Ideas
Home Theater Acoustic Treatment - DIY Video Instructions