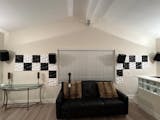
How to Install Acoustic Panels for Maximum Effectiveness

Note that some of the product recommendations in this article are external links, as we want to provide you with the best solutions possible.

Understanding How Acoustic Panels Work

Acoustic panels absorb sound waves which prevents them from bouncing around the room. This improves sound clarity and reduces echo, making your space more comfortable for recording, speaking, or just relaxing.

difference between reflection, absorption and diffusion for sound waves coming into contact with a surface

Identify Reflection Points

Before installing, find the key reflection points where sound bounces the most. These spots are where your panels will be most effective.

Tip to Find Reflection Points

If you have a 2 Channel setup (two speakers in the room) a good way to find the reflection point is using the mirror trick.

The Mirror Trick:

  • Sit in your main listening position.
  • Have a friend move a small mirror along the walls.
  • When you see the speakers or sound source in the mirror, mark that spot with tape—that’s a key reflection point!

Reflection points vary depending on how a room is used because different spaces have different sound sources and acoustic challenges. Below we outline the tips and tricks for different types of rooms.

Recording Studio Control Room

🔹 Main Sound Sources: Studio monitors
🔹 Typical Reflection Points:

  • Side walls (first reflection points) – Sound from monitors bounces off the walls and causes phase issues.
  • Behind the monitors (front wall) – Can create comb filtering and phase cancellation.
  • Ceiling (above mixing position) – Causes vertical reflections that interfere with stereo imaging.
  • Back wall – Can cause strong bass reflections, muddying the mix.

✅ Treatment Strategy:

  • Absorption panels at first reflection points for clarity.
  • Thick bass traps in corners to manage low-end buildup.
  • Diffusers on the back wall to maintain a balanced sound.
  • Ceiling cloud above mix position to control vertical reflections.

The image below shows an installation plan for one of our customers' home recording studios.

recording studio with acoustic treatment showing where the panels and bass traps are placed

Vocal Booth

🔹 Main Sound Source: Voice (static, usually facing a microphone)
🔹 Typical Reflection Points:

  • Front wall behind the mic – Sound bounces off the wall behind the microphone and comes back into the recording.
  • Side walls – Reflections from the singer’s voice hit the side walls and return to the mic.
  • Ceiling – Sound from the voice can reflect downward, creating comb filtering.
  • Floor (if untreated) – Can cause subtle reflections if not carpeted.

✅ Treatment Strategy:

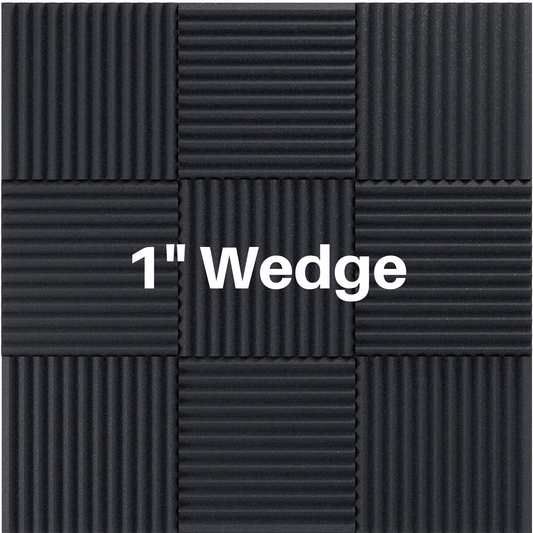
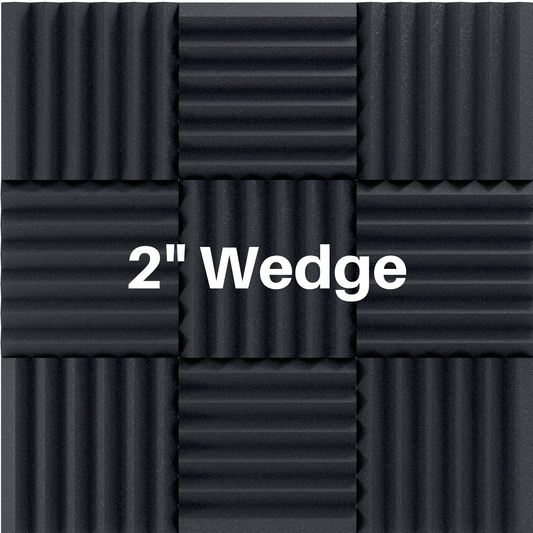
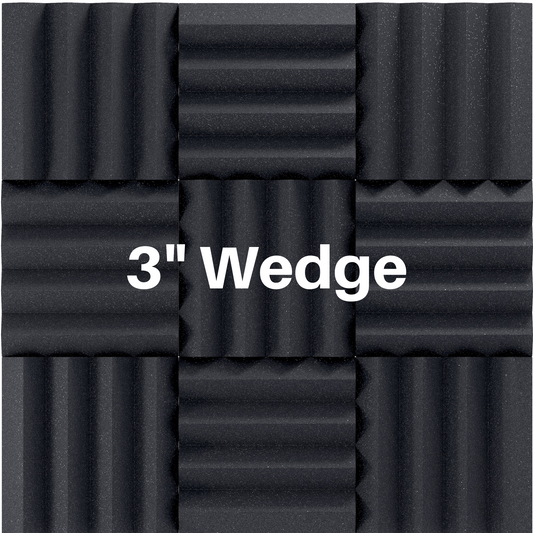
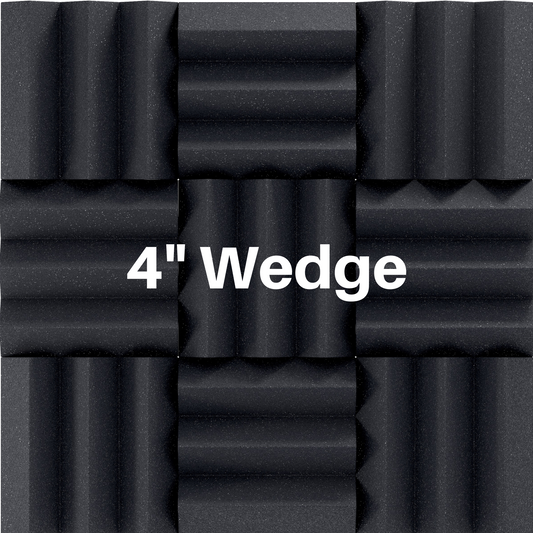
  • Thick absorption (4”) behind the mic to prevent reflections bouncing back into the recording.
  • Absorption on side walls and ceiling to minimize flutter echo.
  • Carpet or thick rug to absorb floor reflections.
  • Bass traps in the corners to prevent room modes and distortion. 

Genie Mixed It's vocal booth shown below treated with our pro acoustic foam.

vocal booth treated with acoustic panels
David Gadow's (Professional Voiceover Artist) vocal booth shown below that he made using our acoustical fabric.
Portable vocal booth constructed with sound assured, acoustical fabric, and moving blankets with PVC frame

Jam Room / Band Rehearsal Space

🔹 Main Sound Sources: Drums, guitars, vocals, bass (multiple, often moving)
🔹 Typical Reflection Points:

  • Behind the drum set – Cymbals and snare create sharp reflections off walls and ceiling.
  • Side walls near guitar amps – Guitar sound waves bounce off nearby walls.
  • Corners – Bass builds up in corners, creating an uneven low-end.
  • Ceiling above drum set – Overhead reflections contribute to an overly boomy room.

✅ Treatment Strategy:

  • Absorption behind and above the drum kit to prevent sharp reflections.
  • Bass traps in corners to control low-end buildup.
  • Panels on walls at ear height where instruments project the most sound.
  • Diffusers on the back wall to keep the room lively without excessive reflections.
Jam room treated with soundassured acoustical treatment

Home Theater

🔹 Main Sound Sources: TV speakers, soundbars, surround sound, possible 2 channel setup with subwoofer
🔹 Typical Reflection Points:

  • Side walls at ear level – Reflections from front speakers bounce directly to the listening position.
  • Ceiling (if untreated) – Creates an echoey, boomy sound.
  • Back wall – Can cause excessive reflections that muddy the audio experience.

✅ Treatment Strategy:

  • Absorption at first reflection points (side walls and ceiling).
  • Bass traps in corners if the subwoofer is producing muddy bass.
  • Diffusers on the back wall if the room sounds too “dead” after treatment.
Diagram showing the reflection points in a home theater for a two channel set up versus a home theater with a five channel surroundsound speakers

Gym / Fitness Room

🔹 Main Sound Sources: Loudspeakers, music playback, voices, equipment noise
🔹 Typical Reflection Points:

  • Large empty walls – Can cause echo and harsh reverb.
  • Ceiling (especially high ceilings) – Sound bounces, making speech unintelligible.
  • Glass or mirrors – Strong reflections that amplify noise.

✅ Treatment Strategy:

Shown below is LJ's fitness in PA that used our hexagon acoustic panels to dampen sound in their fitness studio.

LJ's fitness with hexagon sound dampening panels

Office / Conference Room

🔹 Main Sound Sources: People talking, conference calls, background noise
🔹 Typical Reflection Points:

  • Walls near seating areas – Can cause speech to bounce and become muddy.
  • Glass walls or windows – Can create sharp, harsh reflections.
  • Ceiling – If untreated, speech clarity decreases due to echoes.

✅ Treatment Strategy:

Below shows ceiling baffles used to damp and sound in a commercial office space.

Ceiling baffles used to damp and sound in a commercial office. Space.

What If There Are No Clear Reflection Points or Multiple Sound Sources?

Sometimes, a room may not have obvious reflection points, or sound sources may move around. 

Evenly Distribute Absorption Panels

Instead of targeting specific points, spread panels evenly around the room. Use a mix of broadband absorbers (2”-4” thick) to cover a wide frequency range. The panels can be evenly distributed around the room on the walls and ceilings in a way that makes the room look nice.

For the best results, do not place all your panels next to each other like tiles.

✅ Space them evenly around the room.

✅ Keep some distance between each panel to allow for even sound absorption.

Use Diffusion Too Avoid An Overly Deadened Room

If a room starts to sound too “dead,” add diffusers to maintain a natural balance.

Other Ideas For Sound Absorption In Rooms

Furniture Placement – Upholstered couches, chairs, and bookshelves filled with books can help absorb and diffuse sound.

Rugs & Carpeting – Thick area rugs or wall-to-wall carpeting reduce sound reflection from hard floors.

Heavy Curtains & Drapes – Thick, multi-layered curtains (especially blackout curtains) help absorb sound from windows and walls.

Tapestries & Fabric Wall Hangings – Hanging fabric panels or tapestries can act as makeshift absorbers.

Houseplants – Large leafy plants help break up sound waves and reduce echoes in a room.

Mounting Your Acoustic Panels

Installing your acoustic panels depend on the type of panel you choose. 

Check out This Page with instructions and videos on how to install all of our professional acoustic treatments. Please reach out with any questions. 
Back to blog

Leave a comment

Please note, comments need to be approved before they are published.

Need Help?

Not sure what you need? Don't worry! One of our acoustic pros will help you get results!

Frequently Asked Questions

Do acoustic panels really work?
Yes, acoustic panels absolutely work when used correctly. Acoustic panels are designed to absorb sound waves, which helps reduce echo, reverb, and unwanted reflections in a room. This creates a cleaner, more controlled sound environment.

Whether you’re treating a home studio, podcast room, home theater, or office space, acoustic panels can make a noticeable difference in speech clarity, mix accuracy, and overall listening quality.
How do I know which panels are right for my room?
Every space is unique. You can contact us for a free room analysis, or check out our guides under the “Learn” section.

Absorption panels help reduce echo and reverb. We offer foam panels and fabric covered panels.

Diffusers scatter sound for a more balanced feel.

Bass traps help control low frequencies that tend to build up in corners.

If you’re trying to block sound from entering or leaving a room, you’ll need soundproofing materials, which are different from acoustic treatments.
Can I order samples?
Yes, we offer acoustic foam samples and well as fabric color swatches. If you are looking for something else please Contact Us.

Order Foam Samples
Order Fabric Swatches
What’s the difference between soundproofing and acoustic treatment?
Soundproofing blocks sound from entering or leaving a room. Acoustic treatment improves sound inside the room by reducing echo and reverb.
Can acoustic panels improve speech clarity?
Yes! Acoustic panels are commonly used in offices, conference rooms, and classrooms to reduce echo and improve speech intelligibility. By absorbing excess sound and reverb, panels make it easier to hear and understand spoken words—even at lower volumes.

Want help improving clarity in your space? Contact us here.
Do acoustic panels block outside noise?
Standard acoustic panels don’t block sound—they absorb it. Acoustic panels reduce echo and reverb inside a room but won’t stop external noise from entering or leaving.

If you’re looking for soundproofing, you’ll need materials designed to block sound transmission like mass loaded vinyl, or decoupled wall systems. We offer select products for this—Contact Us to learn more.

Learn the difference between soundproofing and sound absorption here.
Where should I place acoustic panels?
The best placement depends on your room and goals. For general echo reduction, aim to cover 20–30% of your wall space. For recording studios, home theaters, or listening rooms, focus on:

• Front wall behind speakers
• Back wall behind the listening position
• Side wall reflection points
• Ceiling above your desk or seating area
• Diffusers at key reflection points for natural sound

Need help with placement? Contact us for a free custom recommendation.
Do these panels work for podcasting, streaming, or music production?
Absolutely. We serve customers across all industries — from home offices to professional studios.
What fabric is best for wrapping acoustic panels?
To get the best sound performance, use acoustically transparent fabric—material that lets sound pass through easily. A simple test: try breathing through the fabric. If air flows freely, it’s likely a good choice. Avoid dense materials like heavy denim or canvas, as they can block sound instead of letting it be absorbed.

Looking for a proven solution? Our professional-grade acoustical fabric is highly rated by customers and perfect for DIY acoustic panels.

Shop acoustic fabric here or contact us if you need help picking the right fabric for your project.
Can I order custom-sized acoustic panels?
Yes! In addition to our standard panel sizes, we offer custom-sized acoustic panels for unique spaces, specialty builds, and large-scale projects. Just let us know your dimensions and design goals—we’re happy to create a solution that fits your space perfectly.

Contact us here to tell us about your project and get a custom quote.
Do you offer custom sizes or colors?
Yes, we offer custom sizing and a variety of colors on select products. Just reach out and let us know what you need.

Contact Us for custom quotes.
Are your products easy to install?
Yes! Our fabric-wrapped panels include mounting hardware. For acoustic foam, there are several easy mounting options, including double-sided adhesive squares, spray adhesive, or Command strips for installation without damaging your walls.

Check out our install videos here.
Do I need professional help to install acoustic panels?
Most acoustic panels are easy to install with basic tools and a little DIY experience. We make it simple by providing tutorial videos. Check out our install videos here.

For more complex projects, we’re happy to guide you—or your contractor—through the process to ensure everything is done right.

Contact us here if you need help with installation planning.
How do you maintain acoustic panels?
Acoustic panels are low-maintenance and built to last with proper care. Here are some general tips:

• Dust regularly with a soft, dry cloth
• Use a vacuum with an upholstery attachment
• Clean gently with compressed air
• Spot clean with minimal moisture and dry immediately

Always check your panel’s product specs for specific cleaning recommendations.

Have questions about cleaning or care? Contact us here.
How much do acoustical panels or soundproofing materials cost?
The cost of acoustic panels and soundproofing panels depends on your space and goals. We offer everything from affordable DIY acoustic foam to high-end custom panels for professional studios and luxury interiors. For an accurate quote, let us know your room size, usage, and sound goals—we’re happy to help you find the right solution for your budget.

Fill out our free room analysis for personalized acoustic advice.
How fast is shipping and fulfillment?
Most orders ship in 1-3 business days. Cut to order foam may take a little longer. If you need something in a hurry please Contact Us.
Can acoustic panels be customized for my space?
Yes! We offer custom acoustic panels tailored to your exact dimensions, layout, and design goals. Whether you’re working with an odd-shaped wall, a unique room layout, or a specific aesthetic, we can create panels that fit perfectly.

Choose from a wide range of colors and fabrics to match your space without sacrificing performance.

Contact us here to tell us about your space and get a custom solution.