How to Fix Echo in Your Twitch Stream: Cheap and Easy Solutions
Share
If you're a Twitch streamer and have been experiencing echo in your stream, don't worry, you're not alone. This can be a very frustrating issue because it makes it difficult for your viewers to hear what you are saying. In this blog post, we will discuss some cheap and easy solutions that will help fix the echo in your Twitch stream.
Acoustic Treatment For Echoes And Reverberation
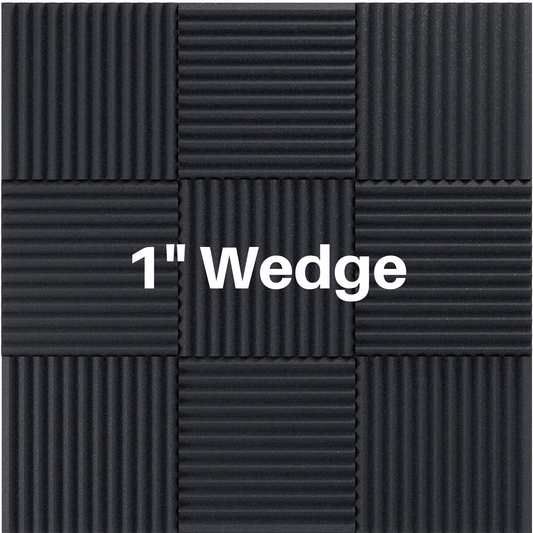
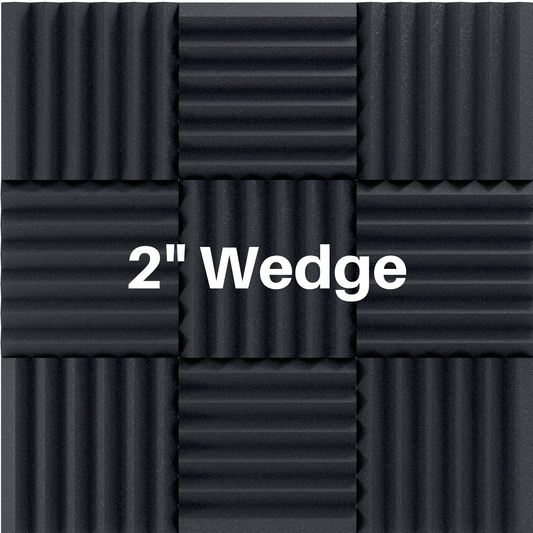
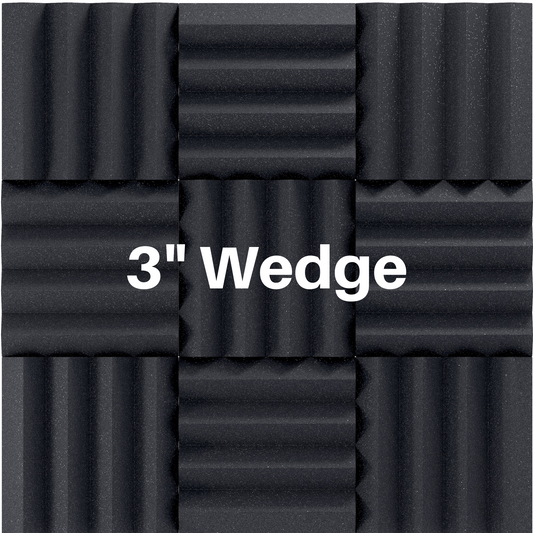
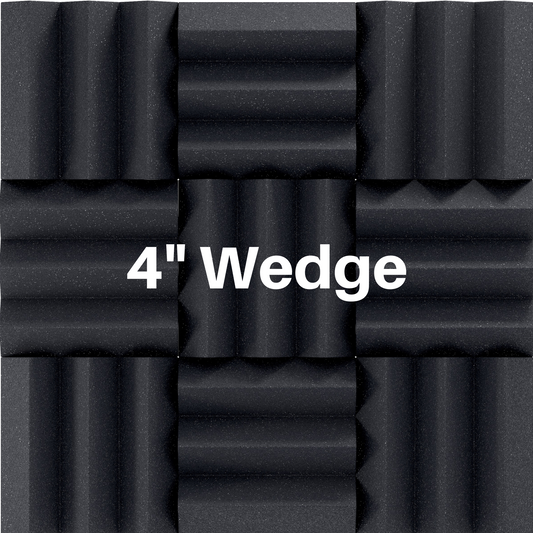
One of the easiest ways to fix echo in your Twitch stream is by using acoustic treatment to help prevent echo. This can be done by using acoustic panels and bass traps for absorption and sound dampening. You can purchase these items relatively cheap and they are easy to install.
Below: Sneaky Beagle's gaming setup for Twitch streaming.

Quick Product Links:
-
If room is 200 square feet or less = Small Recording Studio Bundle
-
If room is 200 to 400 square feet = Large Recording Studio Bundle
-
Larger rooms = please contact us for a free consultation 😁

Check Your Mic & Streaming Setting
Another thing you can try is a microphone that has a built-in noise gate. This will help reduce any background noise and will prevent the audio from echoing. If you are not able to purchase a new microphone, there are some things you can do to try and fix the echo yourself.
One common cause of echo in Twitch streams is incorrect microphone placement. When your microphone is too close to your mouth, it can cause the audio to echo. Try moving your microphone away from your mouth and see if that helps reduce the echo.
Another thing you can try is to adjust the settings on your streaming software. Sometimes, adjusting these settings can help reduce echo in your Twitch stream. Also, make sure you check all your cables and connections.
Upgrade Your Microphone
If you've tried all of these solutions and are still experiencing echo in your Twitch stream, you may need to invest in a new microphone. There are many affordable microphones on the market that will help reduce echo in your stream.
Here are a couple of highly rated microphones for streaming:
More Info About Acoustics For Streaming
How does sound work in a room?
When a sound wave is created in a room it travels through the air until it reaches a boundary. The nature of the boundary will determine how the sound wave reacts when it collides with the boundary.

REFLECTION - Sound bounces off a surface. This occurs on flat and hard surfaces like drywall, hardwood floors, concrete and brick. The sound wave is deflected because it cannot penetrate or pass through the material. This creates echoes.
ABSORPTION - Sound is absorbed by soft and porous materials like acoustic foam, an area rug, curtains etc. When a sound wave comes in contact with an absorptive material the sound energy is converted to a small amount of heat energy causing the sound to decay much faster.
DIFFUSION - When a sound wave hits an uneven surface like a bookcase or acoustic diffuser, the wave breaks up and is scattered. The scattered sound waves have much less energy per wave and will decay faster than a reflected sound wave.
The sound waves that are not reflected back into the room are either diffused by the diffuser, absorbed by the absorber, or pass through the boundary and onto the other side.
We will first focus on sound within the room. Then, talk about the sound waves that make it trough your wall or ceiling, and how to properly soundproof your gaming room.
What materials do you need for acoustic treatment?
Eliminating echoes and lowering reverberation time in your room is imperative for increasing sound clarity. This will help you communicate better with your teammates, and it will help you hear important aspects of gameplay more clearly
Adding sound absorption to the walls and ceiling is the most important when preventing echoes and lowering reverb. You can also use thick cloth curtains over windows or thick rugs on the floor to add extra absorption in the room.
Diffusers eliminate echoes in your room, but they use a different technology from absorption. Diffusers will scatter the sound wave rather than absorb them. This will keep more sound energy in the room but will eliminate the echoes. Diffusers are often used in smaller rooms to make them sound larger, Or they are used in larger rooms to supplement with acoustic absorption.
You will need to consider the sound sources in your room to figure out the right absorption product. If the only sound source is your voice then you can get away with using sound panels only. If you have a sound system with subwoofers then you will need acoustic panels and add bass traps to get low frequency absorption.
Below you will find our lab tested ratings for acoustic foam panels and bass traps.

-----------------------------------------------
How to interpret these ratings:
What Is NRC? ( Noise Reduction Coefficient )
The Noise Reduction Coefficient, commonly known as the NRC for a material is simply a measure of how much sound, or acoustic energy, a material can absorb. The below formula will help us interpret what a materials NRC tells us.
NRC = decibles absorbed / decibles reflected
The NRC will be in decimal format. For example, let's say a material has an NRC of 0.30. What we are saying is that the material absorbed 30% of the acoustic energy and reflected 70%.
The NRC is the "Overall" number in the above ratings. The other numbers represent the rating within the single frequency band.
-----------------------------------------------
A good acoustic foam combo is panels and bass traps. This will give you full frequency absorption in your room. Below we have links to some bundles with panels and bass traps!
-
If room is 200 square feet or less = Small Recording Studio Bundle
-
If room is 200 to 400 square feet = Large Recording Studio Bundle
-
Larger rooms = please contact us for a free consultation :)
Where and how to install your acoustic treatment?
Acoustic foam panels are best installed at the reflection points in a room. Bass traps are installed in the upper corners of a room.
To learn how to install acoustic foam please visit our install page here.
Below is an example of what the reflection points look like in a gaming room with two speakers.
FRONT WALL - sound from your voice and speakers.
BACK WALL - first reflections from speakers.
SIDE WALLS - speaker reflections. Use mirror trick to find the spots.
CEILING - reflections from your speakers and your voice.

Here is an example gamer streaming room acoustic treatment setup:


Installing the acoustic treatment at the reflection points will eliminate the noticeable echoes in the room, but let's talk about the overall reverberation time for a bit.
Reverberation Time is the time it takes for a sound to decay by 60 dB and is sometimes abbreviated T60 or RT60. A T60 of less than 0.5 seconds is ideal for good speech clarity.
CALCULATION
T60 = 0.16V/A
T60 represents the Reverberation Time
V represents the total Volume of the room
A represents the total Absorption of the room
The way we calculate reverberation time here is by using the total absorption of a room. This does not require any testing, microphones or speakers. You can find this by simply measuring the size of each surface in the room and finding the absorption coefficient of each material.
Skip the math! Click Below!
FREE Reverberation Time Calculator
Reverberation time before and after acoustic treatment examples!


Sound Treatment For Streaming
Here is an example of a streaming room setup.
FRONT WALL - treated with2 inch wedge acoustic foam
BACK WALL - used as green screen
SIDE WALLS - treated with2 inch wedge
CEILING - treated with2 inch wedge acoustic foam
CORNERS -bass traps added for increased low frequency absorption


Do You Need Soundproofing?
If you need to prevent outside noises from coming into your streaming room or vice versa then you will need to consider soundproofing.
Soundproofing is different from sound treatment within a room. With soundproofing the goal is to prevent sound from within the room from going outside, or to prevent outside noises from coming into your room and interfering with your gaming.
Soundproofing requires adding more mass to the walls, ceilings, or floors of your room. It also involves sealing leaks in your room. For example, common sound leaks occur around doors and windows. These gaps can be sealed with weatherproofing products like weather sealing strips and door draft stoppers.
One of the easiest ways to add mass and soundproofing to your room is to use Green Glue and an extra layer of drywall to your wall or ceiling. Green Glue is a noise-proofing caulk. This will give you about a 15-20 decibel reduction in sound.
Read more about soundproofing here.
I hope this info was helpful. If you have any questions at all please contact us! We are glad to help!
-------
Read More:
What Is Noise Floor And How To Keep Noise Floor Down
What Is Transmission Loss Of Sound ?
Hopefully, one of these solutions will help fix the echo in your Twitch stream and you will be able to provide your viewers with a clear, quality stream. If you are still having trouble please contact us and we will help you out!


