What Is Noise Floor And How To Keep Noise Floor Down

It's hard enough to sit down and record an audio track in one take. Imagine if annoying hisses or droning hums ruin your mix; you’d have to record everything all over again! What are these unwanted sounds and how do you get rid of it?
What is Noise Floor and Where Does it Come From?
Noise floor, also known as background noise, is the unwanted sound that you don’t want to be a part of the audio recording! Sometimes the noise floor comes from the hisses, hums, or droning noises that sound systems produce. Other times it’s your roommate’s ringing cellphone, the creaking floor of your apartment, the HVAC system, lighting or the chirping birds by the window.
These noises are sometimes too quiet to hear, but the recording device can pick them up and often amplify the sound! When you’re mixing or mastering a track, the audio tends to be turned all the way up, and unfortunately, the background noise will be turned up too. You are going to want to avoid ruining your track!
How Noise Floor Ruins Your Recordings
Unwanted background noises can distract listeners and ruin the quality of the audio tracks. If you’re doing voice-overs, noise floor affects your audio’s clarity. The dialogue is hard to understand. If you’re a musician, the unwanted noises could lead to unprofessional sounding tracks, which could be detrimental to your career.
Unfortunately, it's hard to avoid noise floor unless you’re recording in a soundproof studio. This goes especially if you live in the city where noise pollution is pretty high. But no need to rent a studio to do your recordings; you can create clear, high-quality tracks at home with minimal effort. Here are some tips:
How to Reduce Noise Floor in Your Recordings
1) Look for the Quietest Room in Your Home
The easiest way to avoid unwanted background noises is to never record in a noisy place, to begin with! Check every room and see which one is the quietest. Many times the quietest room will not have any shared walls with neighbors or windows.
Once you've chosen a spot for your recording, familiarize yourself with the common ambient sounds produced in that room and find ways to reduce noise.
Record the room tone before going all the way in. This is a type of test recording using your microphone. Just turn your microphone on and hit the record button; no need to speak. After recording for 10 to 20 seconds, playback to check the natural noise of the room. As you listen, figure out ways to eliminate the unwanted noise.
2) Unplug Noisy Appliances
When checking the natural noises in a room during test recordings, you’ll notice that the sound from room appliances is often the culprit behind unwanted background noises. Before sitting down for a recording, unplug all the room appliances that are causing unwanted noises in the background.
For example, your computer’s CPU might be making those swooshing sounds, or your AC might generate droning noises. If it’s the electric fan or the AC, you can sweat it out for a minute or two and turn these appliances on only after you’re done with your recordings. Trust us; the effort will be worth it.
3) Soundproof the Room DIY-Style
Creating high-quality tracks is not cheap nor effortless. If the quietest room in your home is still generating noise floor, that’s normal. You can’t eliminate room interference entirely unless you’re in a soundproof studio. What you can do is treat the room for cheap to improve the audio quality of the tracks. Here are ways how:
- You can also use sealant tape to seal gaps and reduce environmental noise. Closing the gaps between windows, doorways, etc., will reduce unwanted noise. Just ensure that the tape won’t affect how you’re using the door or windows.
- Installing curtains or drapes and adding carpets to bare rooms help reduce echoes and reduce noise floor. Thick fabrics are effective in absorbing noises, so the thicker the carpets and drapes are, the better the results!
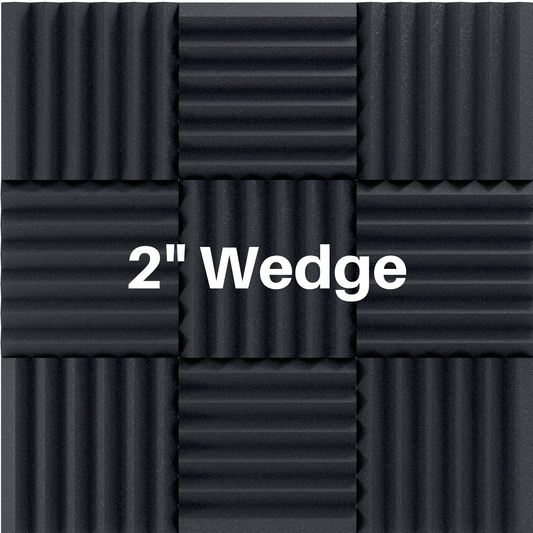
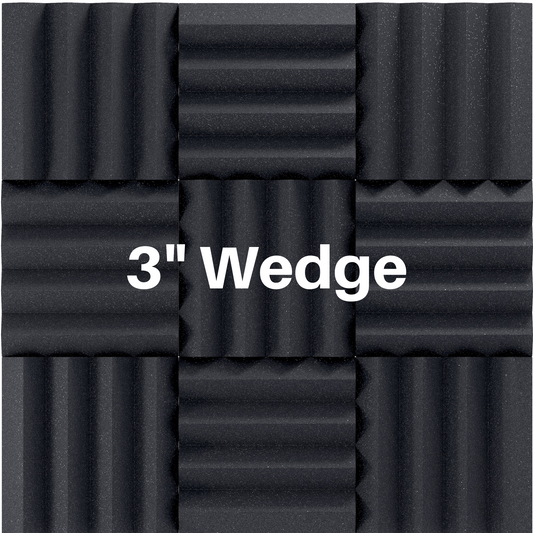
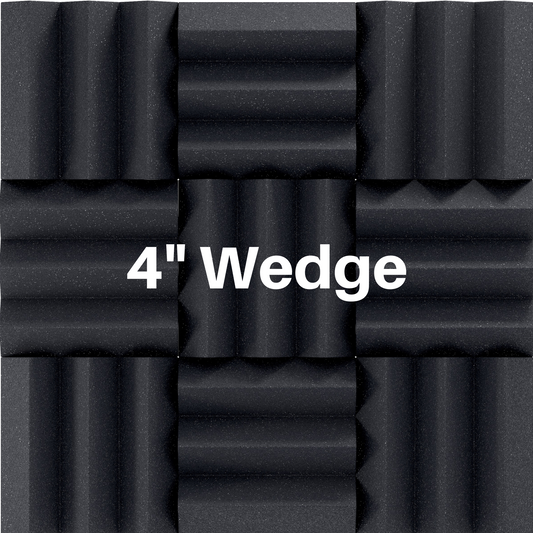
- You can also stick acoustic foam on certain areas of the room to minimize echoes and ambient sounds. Check out our acoustic foam here! Contact us if you need help choosing the right acoustic foam for your room.
4) Get Close to the Microphone
If you are too far away from the microphone, it tends to pick up background noises and amplify certain sounds. If you don’t want the room’s sonic signature to ruin a recording, try close miking.
Getting close to the mic during a recording has its pros and cons. This trick increases the chances of plosives and sibilance, and a bump in the low midrange. But all these could be edited out or mitigated with a pop filter and some EQ.
Conclusion
Don’t let noise floor ruin another one of your tracks ever again. With these tips, you can improve your audio quality without spending a small fortune on fancy sound equipment.
If you need help with your rooms acoustic treatment please contact us or fill out our free acoustic room analysis form!
Read More:
What Is A Reflection Free Zone (RFZ)
Acoustic Treatment For Home Recording Studios - Multiple Design Ideas
What Is Transmission Loss Of Sound ?
What Is Noise Reduction Coefficient (NRC) ?

2 comments
Great insights on managing noise floor! Practical tips like cable management make a big difference. Thanks for sharing your expertise!
Great read! This Blog fantastically explains noise flooring and realistic suggestions for preserving it. Thank you for the insightful guidance!