How To Acoustically Treat A Small Room For Recording
You don't need a huge studio to make solid recordings. But small rooms have a few acoustic issues that can make vocals sound boxy, bass sound uneven and mixes hard to trust.
The good news is that you can make a big improvement with a few correctly placed acoustic treatments. Here's where to start.
1. Start With The Biggest Problem: Reflections
When you sing, play an instrument or listen through studio monitors, you hear the direct sound plus sound bouncing off your walls, ceiling and floor.
In a small room those reflections reach your ears pretty quickly. When the direct and reflected sounds mix together they change what you hear.
For most small studios, start by treating:
- Side-wall reflection points
- The wall behind or around the recording position
- The ceiling above the recording or listening area
- Room corners for low-frequency control
2. Don't Cover Every Wall With Foam
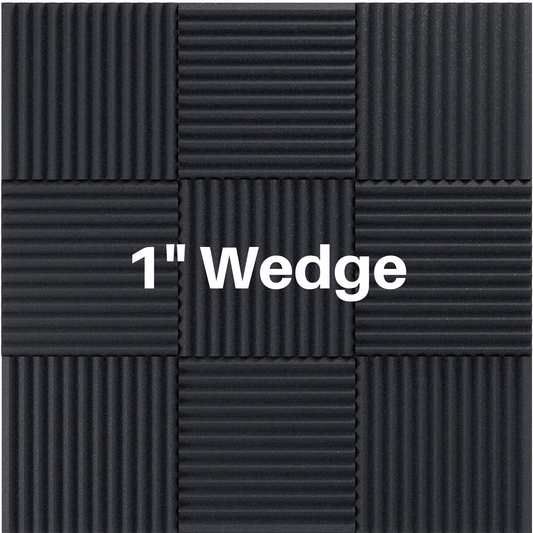
A common mistake is covering almost every surface with thin acoustic material. This can absorb too much high-frequency energy while leaving the bass problems still lingering.
Think more about balance. Use absorption where reflections are causing problems and use thicker treatment or bass traps where low-frequency control is needed (normally the corners of the room).
Room Treatment Calculator
Enter your room size and we'll give you a simple starting point for acoustic treatment.
3. Pay Extra Attention To Bass
Bass is usually the hardest part of treating a small room.
Low-frequency sound waves are physically longer than high-frequency waves. In a small rectangular room they bounce between opposite surfaces and create room modes.
This can make one bass note sound huge while another almost disappears. Moving only a few feet within the room can sometimes completely change the amount of bass you hear.
That's why simply adding more thin foam doesn't always fix a boomy room. This is also why you want to stay away from cheap thin foam from Amazon. It only works on high-frequencies at best.
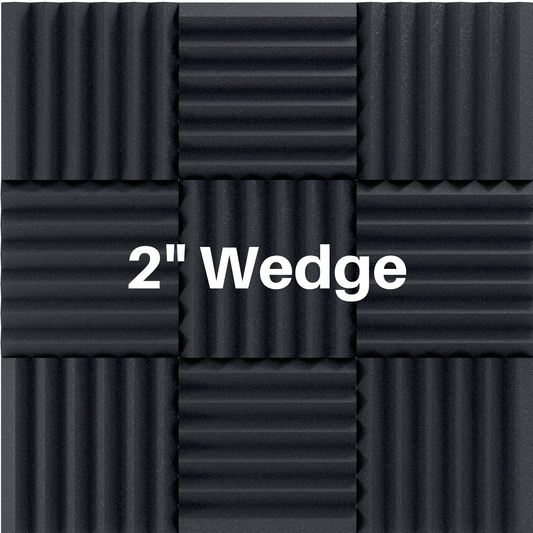
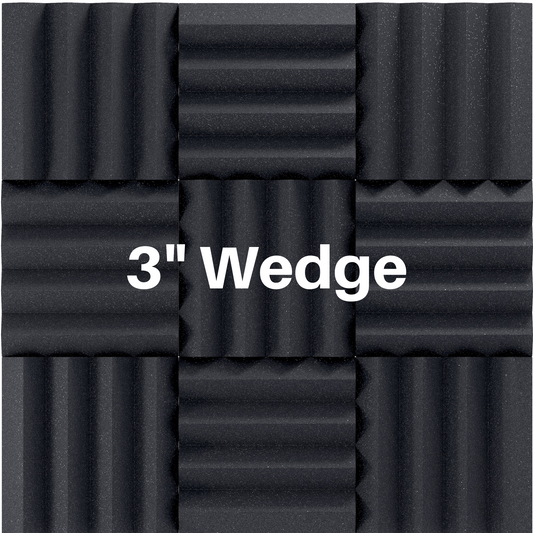
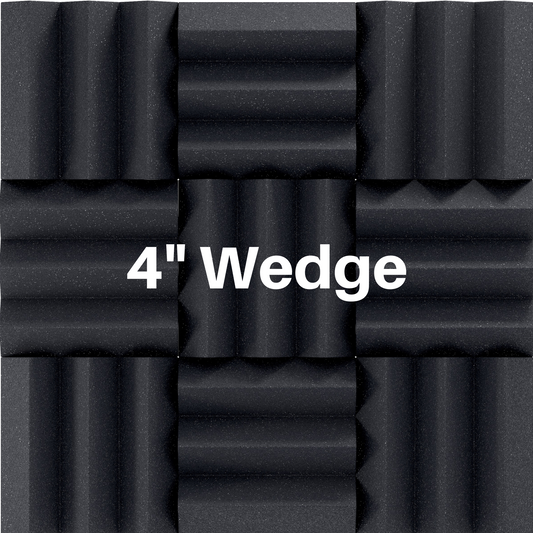
Instead, use thicker absorbers on walls, plus bass traps in corners where possible. Speaker position and listening position can also make a major difference.
Room Mode Calculator
Your room dimensions can predict some of the bass frequencies most likely to cause trouble.
We'll use the same dimensions you entered above.
4. Treat The Ceiling If You Can
The ceiling is one of the biggest untreated reflective surfaces in many home studios.
A ceiling absorber, sometimes called an acoustic cloud, can be especially useful above a microphone, recording area or mixing position.
If you have enough space, leaving an air gap behind an absorber can also improve its performance at lower frequencies. Our fabric covered panels can be made with eye bolts and chains so you can have them dangle from your ceiling.
5. Your First Treatment Plan
For a typical bedroom sized recording room, we'd start here:
- Treat the strongest early reflection points.
- Add absorption behind or around the recording area.
- Add a ceiling cloud when possible.
- Add thicker corner treatment for bass.
- Record or listen again before adding more treatment.

The goal isn't to make the room completely dead. The goal is to control the reflections and resonances that are hurting your recordings.
Every room is different. Two bedrooms with almost the same square footage can behave very differently because of their dimensions, ceiling height, doors, windows, furniture and speaker placement.
Not Sure What Your Room Needs?
Send us your room dimensions, photos and what you're using the space for. We'll help you figure out where treatment will make the biggest difference.
Get A Free Room AnalysisAcoustics reference: This guide uses established acoustical principles discussed in F. Alton Everest's Master Handbook of Acoustics, including sound absorption, room modes, reflection control, listening room acoustics and small recording studio design. Calculators provide useful starting estimates and are not a substitute for professional acoustic measurements.