Vocal Booth Acoustic Treatment - Case Study With Professoar
Good acoustic treatment for a vocal booth should be considered so that you get the sound you desire. The last thing you want to do is spend a whole bunch of time recording and then find out you need to re-record everything because your area was not properly treated.
What type of sound do you want?
Some producers prefer to dampen the vocal booth completely which will eliminate all echo and most reverb. Then, if desired, reverberation is added back into the vocal tracks in post production in the DAW with professional plugins.
Other producers prefer to keep some liveliness in the vocal booth. This can be accomplished easier with larger vocal tracking rooms. However, you can use diffusers in a small space to eliminate noticeable echoes and scatter the sound energy rather than absorbing it.
TIP! You can always add good reverb to a track. It is much harder to take out bad reverb after the recording has been made!
This is a reason that many producers prefer to have a dampened vocal booth with acoustic absorption treatment. This type of room provides a pure vocal recording with crisp unaltered audio.
What type of treatment do you need?
Acoustic foam is a great sound absorber and is used in many vocal booth setups across the world including one of our awesome customers, Caleb aka Professoar!


Sound absorption is imperative in a vocal booth in order to decrease noticeable echoes that are easily picked up by your mic. For his vocal booth, Caleb went with full coverage and a combination of thicknesses.
Caleb's vocal booth room is 64 inches wide x 79 inches long x 108 inches tall and has carpeting on the floor. Prior to adding acoustic treatment the walls were painted drywall.
Treatments that were used:
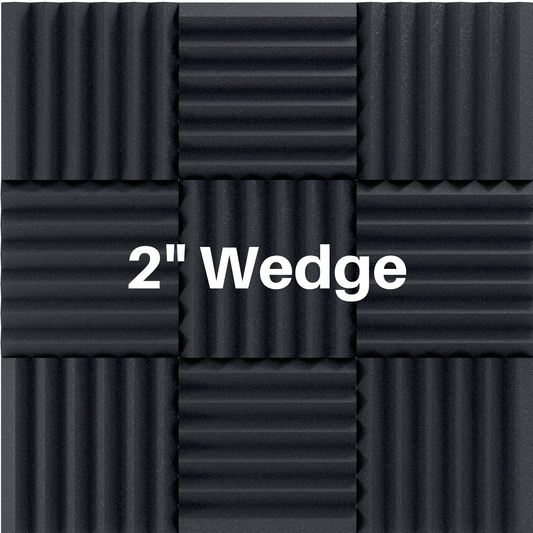
- 96 square feet of 2 inch thick wedges
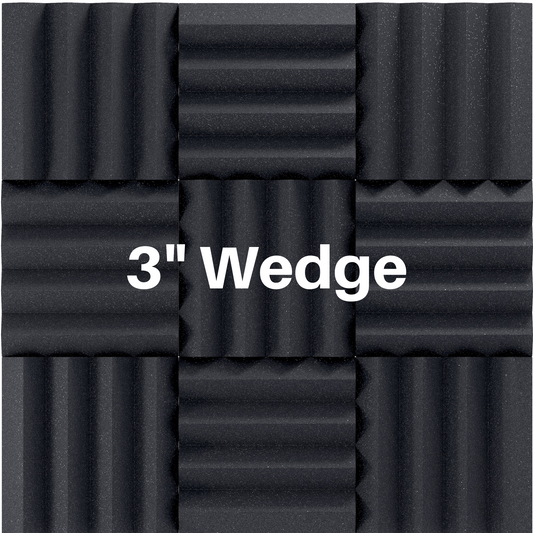
- 24 square feet of 3 inch thick wedges
- 48 square feet of 3 inch thick pyramids
- 1 sheet of egg crate acoustic foam
- 8 pack corner bass traps
- 4 - 12x12x12 inch corner cubes
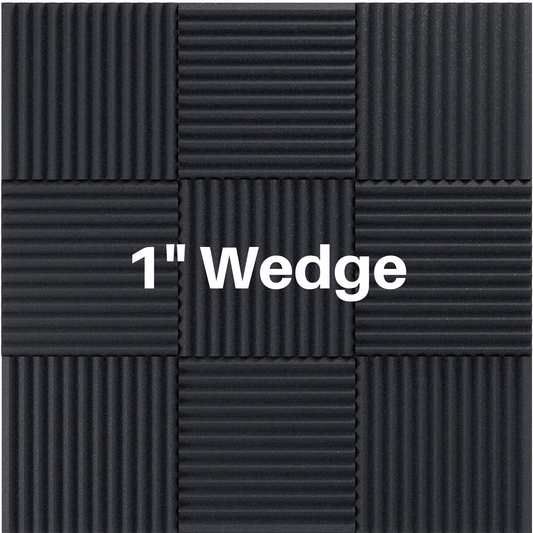
If you are planning a vocal booth we recommend using panels that are at least two inches thick or thicker.
How much of a difference does acoustic treatment make?
To demonstrate the difference in sound before and after acoustical treatment, Caleb took some sound samples of a balloon pop. A balloon pop is known as an impulse sound in acoustics. Learn more about sound impulses here.
Scroll down to check out the images of these recordings. You can see that before the treatment there was noticeable echoes, and the sound took much longer to decay.
After the acoustic treatment was added the sound from the balloon pop was dampened significantly, as shown in the spectrograms below.
All samples were recorded with:
Microphone: Aston Spirit
Interface: Focusrite Scarlett Solo Gen2
DAW: FL Studio
Mic and Interface settings:
Mic Gain – 0
Interface Gain – 0
Polar Patter: Omni
Filters and Passes: None
Spectrograms used: iZotope's RX7 or Insight2.
Balloon Pop 1:
Before - Peak Amplitude (1.2 dB)
After - Peak Amplitude (0.6 dB)

Balloon Pop 2:
Before - Peak Amplitude (1.2 dB)
After - Peak Amplitude (2.2 dB)

Balloon Pop 3:
Before - Peak Amplitude (1.2 dB)
After - Peak Amplitude (0.3 dB)

Balloon Pop 4:
Before - Peak Amplitude (1.4 dB)
After - Peak Amplitude (-2.6 dB)

If you need help with your acoustic treatment please contact us! We are glad to help :)