Recording Drums At Home
In this post, we'll go over the essential steps to capturing the rich, dynamic sound of your drum kit with the help of effective acoustic treatments and proper recording techniques. Whether you're a seasoned pro or just starting your drumming journey, this post will ensure your home recordings hit all the right beats.


Choosing The Right Room
What is the best room size for a drum room?
The best room size for a drum room depends on factors like music type and personal preferences. Honestly, larger rooms without any parallel surfaces are great for recording drum sets. But those rooms are few and far between.
If you are recording at home you are probably limited in your room choice. You will have to make due with what you have. Which is totally fine!
Below are some general characteristics of different sized rooms.
Small Rooms
- Tighter, more controlled sound.
- Limited natural reverb.
- Limited space for drummers and equipment.
- Square footage: Up to 150 square feet.
Medium-Sized Rooms
- Balanced sound with some room for natural resonance.
- Allows for a mix of controlled and lively tones.
- Adequate space for drummers and equipment.
- Square footage: 150 to 300 square feet.
Large Rooms
- More open and resonant sound.
- Expansive, resonant sound.
- Greater space for dynamic playing and larger drum kits.
- Square footage: 300 square feet and above.
What is the best shape for a drum room?
The best shape for recording any audio is a room without any parallel surfaces. As mentioned earlier, these rooms are hard to come by unless you design it yourself.
No need to panic! If your room has parallel walls, and a parallel ceiling and floor (like most) you can use acoustical treatment to get great sound.
If you have the budget for some extra walls in your room, check out the below diagram. This would take away your parallel wall problem, and give you more natural reverberation in your room.

Do you need to soundproof a drum room?
Soundproofing a drum room can be essential, particularly in shared living spaces or areas with neighbors. It helps minimize the transmission of loud drum sounds outside the room, keeping you out of trouble and on your neighbors good side.
Additionally, soundproofing can enhance the quality of recordings by preventing external noise interference.
If you don't have the budget to soundproof, or you are renting and cannot renovate, try to work a schedule out with your neighbors and record during time with little outside noise. This is definitely not ideal but worth a try!
How to soundproof a drum room?
To soundproof a drum room, start by addressing potential sound leaks through doors, windows, and walls. Use weather stripping, door sweeps, and acoustic caulk to seal gaps and prevent sound from escaping.
The next step is to add a soundproofing layer to your walls. If you are building from scratch consider the below wall systems.

Soundproofing layers:
If your room is already constructed you can add a dense soundproofing layer, and another layer of drywall on the outside.

As you can see, soundproofing can get expensive. Make sure you absolutely need to invest in soundproofing before you start the project. If you can work around your neighbors schedule and record when there are no problems, you can save yourself from having to invest in soundproofing.
Essential Recording Equipment From Drummers
What microphones are best for drums?
The best microphones for drums depend on the specific application, the type of drum, and personal preference. However, here are some popular choices for recording the best drum sounds.
Kick Drum
Snare Drum
Toms
Overhead (Cymbals and Kit Ambiance)
Room Microphones (for Ambiance)
What is the best mic placement when recording drums?
Getting the best drum sound during recording involves strategic microphone placement. We have broken it down for you so you can be ready to record drums like a pro!

Kick Drum
- Position mic just inside the sound hole for depth.
- Experiment with placement to capture desired punch.
Snare Drum
- Use mics on the top and bottom heads for attack and sizzle.
- Adjust placement for a balanced snare sound.
Tom Drums
- Position mics close to drumhead for full resonance.
- Adjust heights for a balanced representation.
Cymbals
- Place overhead mics at a height to capture overall kit sound.
- Avoid direct hits on the cymbals for a balanced and natural tone.
Overhead Mics
- Space evenly to capture the full stereo image.
- Experiment with height and angle for balance.
Here is a diagram showing microphone placement for a drum set.

What audio interfaces work best for drums?
The choice of an audio interface for drums depends on various factors, including the number of inputs needed, budget constraints, and specific features required.
The number of inputs depends on how many mics you are going to use. Let's say you are going to do three tom mics, one snare mic, two overheads, and a kick drum mic. You are going to need seven mic inputs.
A good idea is to get a little mixing board that doubles as an audio interface. This was you can power all your microphones and set the levels on the mixing board, then send and record the signals onto your computer.
Here are some audio interfaces that are well-regarded for drum recording:
- Offers multiple inputs, suitable for miking a full drum kit.
- Good preamp quality and reliable performance.
- USB connectivity for ease of use.
Behringer Xenyx X2222USB Mixer with USB and Effects
- USB connectivity for direct computer recording.
- Built-in effects enhance versatility for drum recordings.
- Lot's of preamps and effects for the price.
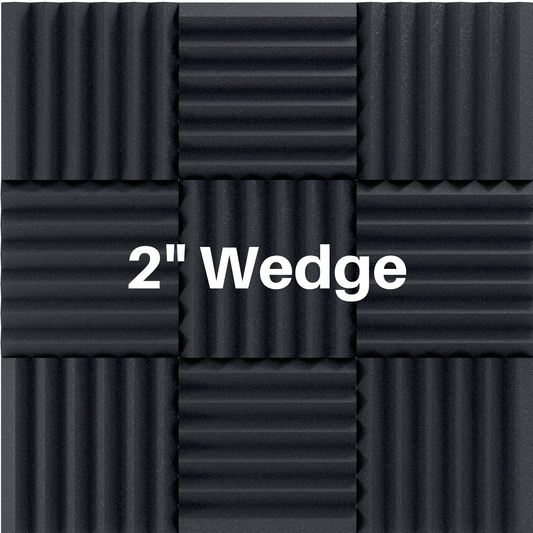
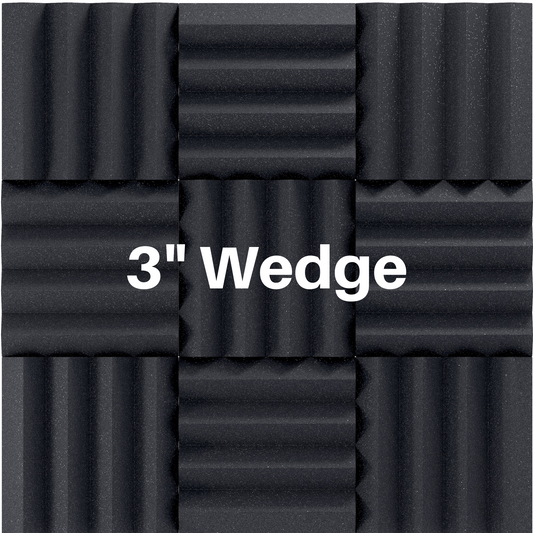
The Role of Acoustic Treatments
Sound absorption plays a critical role in improving the clarity of drum recordings by minimizing unwanted reflections and controlling reverberations in the room. Unchecked reflections can lead to a muddied sound with less definition. This makes it challenging to capture the nuances of the drum kit accurately.

Reducing Unwanted Reflections
Sound absorption panels absorb sound energy, preventing it from bouncing off walls and surfaces. This minimizes the annoying reflections that can distort the natural sound of the drums.
Controlling Room Reverberation
Drum recordings benefit from a controlled acoustic environment. Absorption panels help manage room reverberation, allowing each drum hit to be captured distinctly without excessive overlap from lingering echoes. This results in a more articulate and defined drum sound.
Don't Forget Bass Trapping
Bass traps absorb low-frequency sound waves, preventing the buildup of bass energy in corners and other problematic areas. Room modes, caused by low-frequency standing waves, can also create uneven bass response. Bass traps help minimize these modes, ensuring a more consistent and accurate representation of the drums' low-frequency components.
Placement Suggestions
Ceiling Reflection Points
Install panels on the ceiling above the drum kit to capture reflections from cymbals and the snare drum.
Side Walls
Place panels on the side walls at the first reflection points to control reflections that can affect the stereo image and overall clarity.
Behind the Drummer
Installing panels behind the drummer can help absorb sound energy before it reflects back into the drum kit, improving the isolation of individual drums.
Bass Traps In The Corners
Install bass traps in the corners of the room, where low-frequency energy tends to accumulate. Covering both vertical corners (from floor to ceiling) further addresses standing waves and reinforces low-frequency control.
Strategically placing sound absorption panels in these areas helps create a controlled and acoustically balanced environment, allowing your drum recordings to shine with clarity and detail.

What about diffusers?
Diffusers are another component of acoustic treatment that can enhance the clarity of drum recordings by addressing mid and high-frequency reflections. Unlike absorption panels, diffusers scatter sound waves rather than absorbing them.
People often use diffusers in small rooms to make them sound larger. They are also used to keep more liveliness in a room. A combination of absorption and diffusion is often used.
Diffuser Placement Suggestions
Ceiling Diffusion: Install diffusers on the ceiling to scatter reflections from cymbals and other high-frequency elements.
Side Wall Diffusion: Place diffusers on the side walls at the reflection points to maintain a sense of space while controlling mid-frequency reflections.
Rear Wall Diffusion: Adding diffusers on the rear wall behind the drum kit can enhance the sense of depth and spaciousness in the recording.
Sound Diffusion Materials
- Wood diffuser panels
- Uneven surfaces like bookshelves also work well at sound diffusion.
Drum Tuning and Maintenance
For optimal drum performance, start by cleaning the drumhead to remove any debris. When tuning, make small and even adjustments to each lug using a quality drum key for precision.
Experiment with dampening options, such as drum gels to control resonance and achieve the desired sustain.

Regularly inspect drum hardware for wear, tightening loose screws or bolts to maintain stability. Following these steps ensures clean sound, tuning stability, and prolongs the lifespan of your drum kit.
Drum Recording Techniques
Single-Microphone Recording
Single-microphone setups offer simplicity and a natural sound that captures the overall balance of the drum kit. They are straightforward to set up, making them suitable for quick recordings or situations with limited equipment. However, this simplicity comes at the cost of limited control over individual drum elements and a potential lack of detail and definition.
Multi-Microphone Recording
Multi-microphone setups provide greater control over each drum, allowing for a more polished and produced sound. They are versatile and commonly used in professional studio settings. However, this approach requires more expertise, time, and equipment, and incorrect microphone placement may lead to phase issues that impact the overall sound negatively.
Layering and Overdubbing
Layering and overdubbing involve recording drum parts separately and combining them in the mix. This approach offers extensive control over each drum element, allowing for precision in shaping the overall sound. By recording individual drums separately, drummers or producers can focus on achieving the best possible performance for each element.
This method is especially advantageous in genres where a highly produced and polished drum sound is desired. However, it requires meticulous planning, a well-organized recording environment, and skilled post-production work to ensure that the layered elements blend seamlessly.
Still Need Help?