How To Set Up A Bedroom Voice Over Studio
Voice over artists are in high demand nowadays! With a small investment you can create a voice over home studio!
Many customers we have talked to over the years want to turn their bedroom into a home studio for voice over work. This can be done fairly easily!
So, how do you make a voice over sound professional?
Some of the items you will need to get started are a microphone, an audio interface, a computer with proper software, and acoustic treatment. You can even skip the audio interface and get a USB mic that plugs directly into your computer.

Whether you are a beginner or a pro, acoustic treatment is something that needs to be considered. This is because flutter echoes and too much reverb will make your recordings lower quality.
Low quality recordings will cause your customers to not come back, if they even hire you in the first place. Most voice over agencies even require you to pass quality tests before they will work with you. This is why you need to ensure you get the clearest recordings possible!
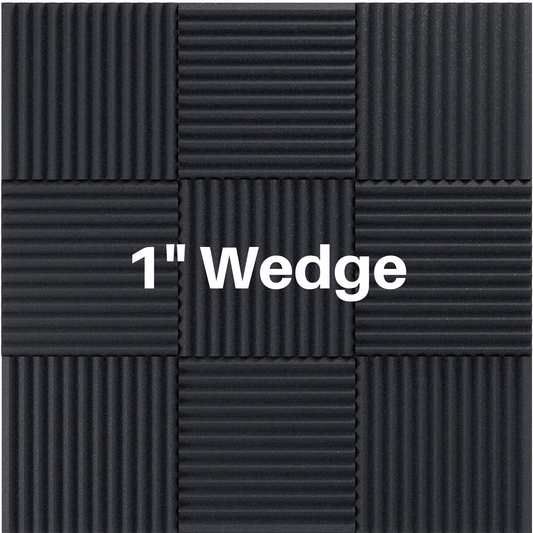
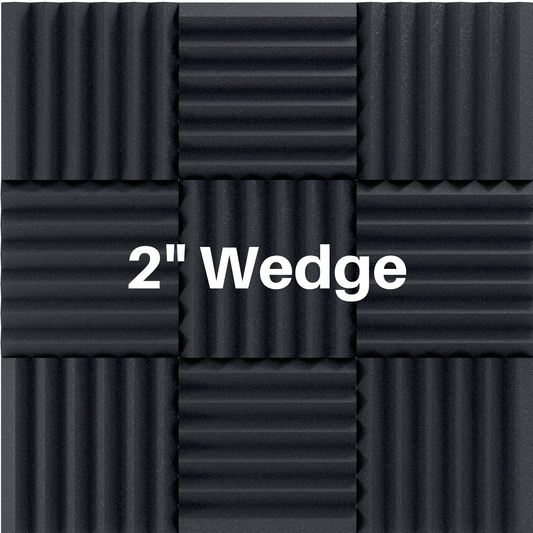
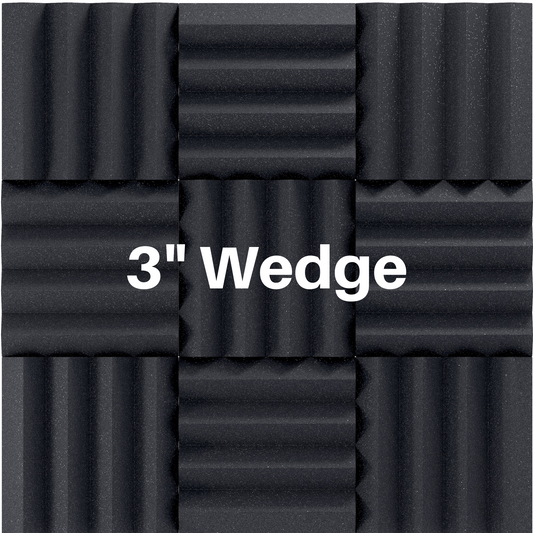
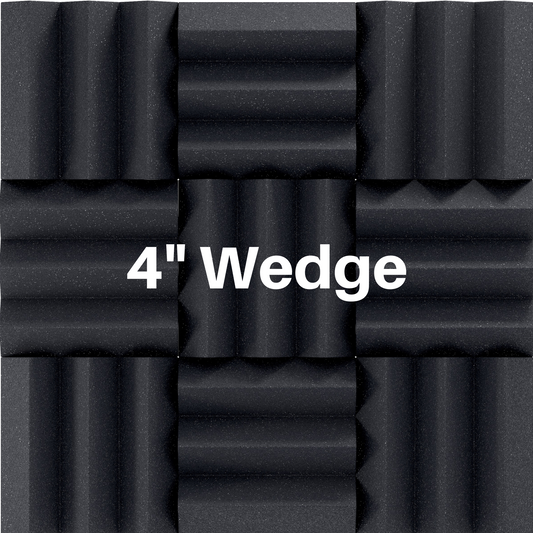
To upgrade the sound quality in voiceover room you will need to add acoustic absorption. Hard and flat surfaces will reflect sound and cause noticeable echoes. You want your mic to pick up the direct sound, not the reflections!

Surfaces treated with acoustic absorption will absorb the sound waves. Sound absorbers like acoustic foam transfer the sound energy into heat through friction. This prevents flutter echo and reverb in your room!
The amount of acoustic absorption you need depends on the size of your room. The example room we are using is 12' x 11' x 8'. This is a standard size bedroom.

The acoustic foam panels are placed on the walls and ceiling. The foam panels are installed with adhesives or T shaped push pins. Check out our post here for more info on how to install the foam panels.
Bass traps are mounted in the upper corners of the room. Panels absorb mid and high range frequencies. Bass traps absorb low end frequencies. The combination will give you full frequency absorption and the flat frequency response you need!
Products used in this design:
Notice that the microphone is located next to the desk. There are acoustic panels behind the microphone. You will want to make sure you record into the mic facing towards the panels.

Turning your bedroom into a home voice over studio is a great way to get into the game! It can also help you save money if you are spending to record at a professional studio!
If you have any questions about your room please contact us! We are happy to help!

Read More:
What Is Noise Floor And How To Keep Noise Floor Down
What Is Transmission Loss Of Sound ?
What Is Noise Reduction Coefficient (NRC) ?