Room Acoustics for Vaulted Ceilings
Share
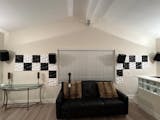
Common Problems with Rooms with A-Frame or Angled Ceilings
Uneven Sound Distribution
Angled ceilings can cause sound waves to reflect unevenly, leading to inconsistent sound distribution within the room. This will create hotspots where the sound is too loud and dead spots where the sound is too quiet which is known as peaks and nulls. In effect, this cancels out some frequencies and boosts others.
Reflections and Echoes
The angles of the ceiling can create multiple reflection points, resulting in echoes and reverb that can muddy the sound. These reflections can interfere with the clarity of recordings and make it difficult to achieve a clean sound recordings.
Difficulties in Positioning Acoustic Treatments
The irregular shape and angles of the ceiling can make it challenging to correctly place acoustic panels and bass traps. This is because irregular shapes make sound paths harder to predict. Incorrect placement can reduce the effectiveness of acoustic treatments, leaving problem areas untreated.
Assessing Your Room
Before you start fixing these problems, you need to understand what you're dealing with. You can use some of the below tips to help you get a grasp of how sound energy is behaving in your room.
- Walk around and clap your hands and listen for echoes.
- Use a sound meter app to measure the sound levels in different spots.
- Play white noise through a speaker in the room and record the sound in different spots in the room.
You can analyze these recordings in any Digital Audio Workstation (DAW) using an equalizer. Look for any peaks or dips in the frequency spectrum. These variations will indicate which frequencies need to be addressed and help you determine the optimal placement for acoustic treatments.
Below is an image of a recording in a room affected by comb filtering. This phenomenon causes certain frequencies to cancel each other out, which can significantly degrade the quality of your recordings.

You can also use tools like Room EQ Wizard to help diagnose problem areas in your room. This is a sophisticated and free online tool that analyzes sound recordings and helps map out the frequency response of your room.
Choosing the Right Acoustic Treatments
There are three main types of acoustic treatments we'll use:
Absorbers: These help soak up a wide range of sounds.
Bass Traps: These are great for absorbing low-frequency sounds.
Diffusers: These help scatter sound waves to reduce echoes.
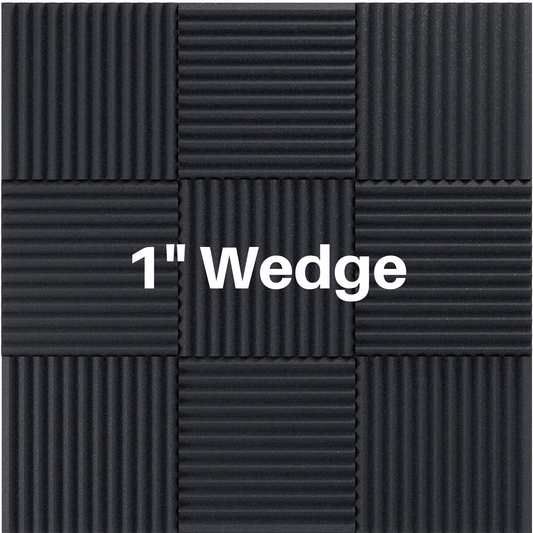
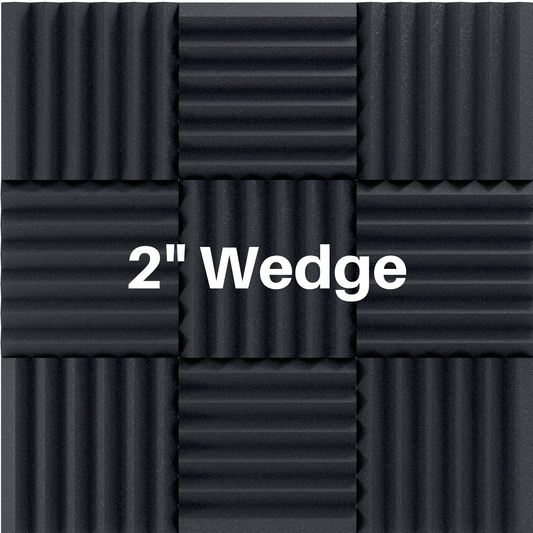
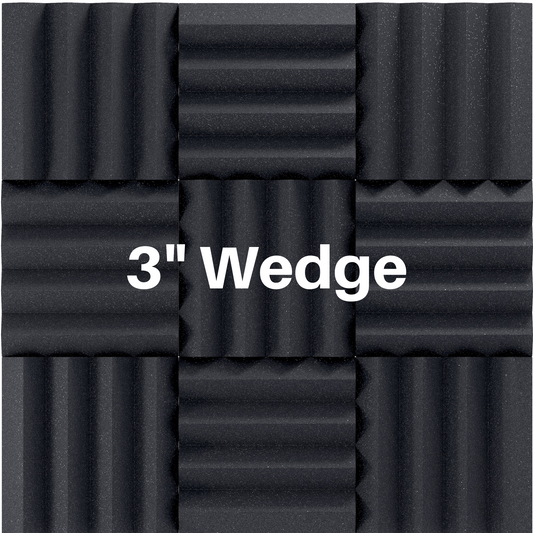
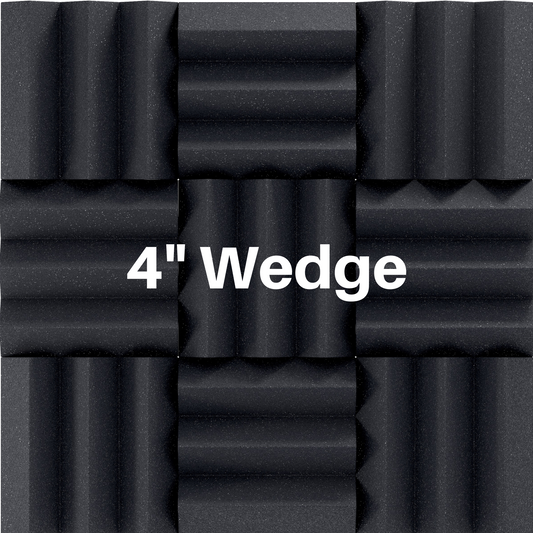
A major benefit of acoustic foam for ceiling treatments is the fact that the material is very lightweight and easy to position on your ceiling.
If you would rather go a DIY route our acoustic fabric is a great choice for making your own panels.
Where to place panels on the wall?
First off we need to address the reflection points on the walls before we get to the ceiling. Your focus for the walls is going to be the main reflection points. In a two channel set up this is fairly easy to determine.
For the walls you can use absorbers or diffusers. Diffusion is a popular choice for the rear wall. These panels treat echoes but keep a little more liveliness inside the room.
Your main wall reflection points are going to be on the back wall, the side walls, and the front wall. Below is a diagram showing these reflection points.

The Mirror Trick
To find reflection points on the side walls, you can use the "mirror trick." Here’s how:
- Sit at Your Listening Position: Position yourself where you will be mixing or recording.
- Have a Friend Help: Ask a friend to hold a mirror against the wall.
- Move the Mirror: Have them move the mirror along the wall while you stay seated.
- Find Reflection Points: Wherever you see the speakers or monitors reflected in the mirror, that's a reflection point.
Bass Trap Placement
Now let's talk about placement of your bass traps. Bass traps should be placed in the upper corners of the room where the ceiling meets the walls.
With vaulted ceilings, the top of the bass traps won't sit flush with the ceiling. Instead, start the top of your bass trap where the vaulted ceiling begins, placing at least one bass trap in each corner. For enhanced low-end absorption, you can also extend the bass traps from the ceiling to the floor.
Where to place panels on the ceiling?
On the angled parts of the ceiling you want to install absorbers. The idea here is to spread the paneling out evenly in your vaulted ceiling area.
Install ceiling clouds to hang above your recording and mixing position. This will add extra protection from any first reflection interference that could be caused by your angled ceilings.

For drywall and smooth surfaces:
- Spray adhesive: 3M general purpose 45 or Loctite general purpose spray adhesive
- Strong double sided tape: Adhesive Squares or Gorilla Mounting Tape
- Push pins: longer T shaped pins work great
- 3M Command Strips
For concrete and textured surfaces:
- Construction adhesive: Liquid nails
Mounting Acoustic Foam With Minimal Damage:
If you are renting and do not want to leave the walls with residue from adhesive or holes from push pins then your best bet would be the 3M command strips for hanging pictures. These can be peeled off without leaving residue behind on the wall.
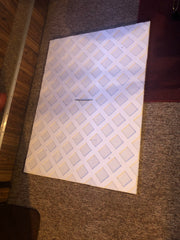
Another cool technique is to mount the acoustic foam to a piece of plywood, thick cardboard, coroplast, or white boards with adhesive. Then, rest or hang the assembled panel on the wall. This not only saves your walls but it also gives you the freedom to move the panels around for sound testing or take them with you when you move.

Installing Acoustic Foam With Minimum Damage (Coroplast Hack)
