Home Recording Studio: Hacks and Tips for Efficient and Effective Sound Production
Share
Home recording studios are a great way to get your creativity out in the comfort of your home. Many home recording studio owners make the mistake of not addressing acoustics when setting up their home recording studio. This actually makes your job harder down-the-road. Paying proper attention to acoustic treatment when setting up your home recording studio can save you a ton of time and money!
In this blog post, we will discuss 11 sound treatment hacks for home recording studios that will help you create an environment where the quality of sound is optimal and efficient.
11 Sound Treatment Hacks For Home Recording Studios
- Use rugs on hardwood: It is typically advised that you install carpeting in your home recording studio, however using area rugs can also be effective when placed strategically between amps or speakers. This helps remove first reflections and reduce the overall reverberation time in the room.
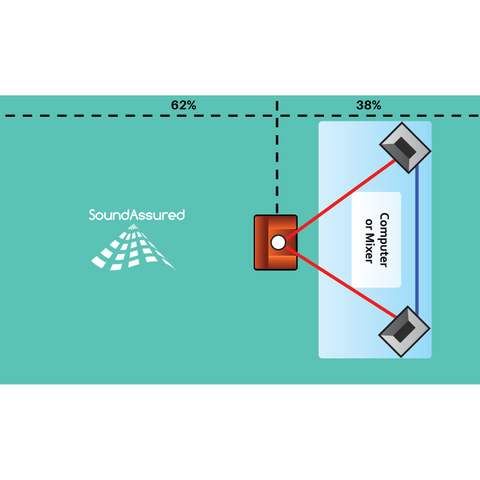
- Proper monitor placement: Placing your monitors in the correct location is key to getting an accurate representation of your audio. Monitors should be placed at ear level and angled towards your head, not straight ahead.
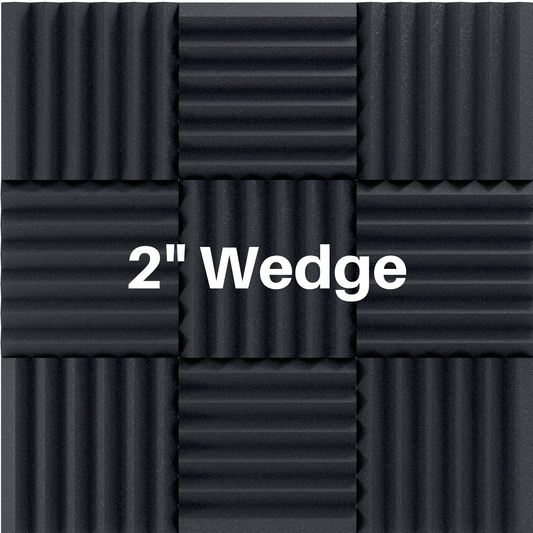
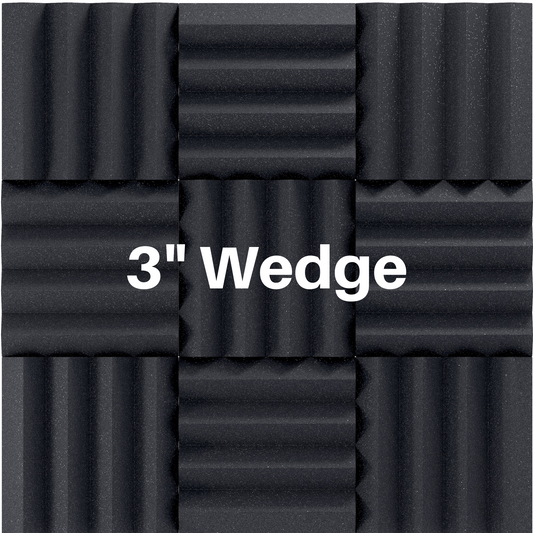
- Add absorption into the room: Adding sound treatment to a home recording studio will help eliminate echoes and flutter.
- Vocal recording area: When recording vocals, it is important to have an isolated area in order to prevent any unwanted sounds and echoes from being captured by your microphone. Make sure to have absorption placed around your microphone and use a pop filter to prevent hisses and plosives from ruining your track! Check out our vocal booth treatment guide.
- Create a Reflection Free Zone (RFZ): When recording instruments, it is important to have an area in the room that is free of reflections. This will help you get a true representation of the sound without any coloration. This RFZ will be your main listening position in your room and is often located at the chair of your console of desk.

- Use furniture to your advantage: Furniture can be used as both absorption and diffusion. Shelves filled with books and other objects can be great for diffusing sound and preventing echoes. Bulky furniture that is soft will also add absorption to your room and make it so you need less acoustic panels overall.
- Add bass traps: Bass traps are an essential part of any home recording studio, as they help to control low frequency sounds which can often be problematic.
- Keep the room size in mind: Make sure to consider how much space you have when choosing acoustic treatment. This will ensure that you get the best home recording studio possible for your needs! You can always use our room calculator or room analysis to help out!
- Don't forget about windows: Use heavy treatments like thick curtains to add absorption to your room, but remember that they can block light. This is why it's important to consider how much natural lighting you have when designing your home recording studio. Some of our customer have been using the LED light strips as complimentary lighting in their studio. It not only gets the job done but adds a nice vibe to the room!

- Seal your doors and windows: To prevent sound from getting into your home studio room one step is to make sure the doors and windows are sealed. Even the slightest crack will let the noise through which can pollute your tracks. Weatherstrips work well for sealing gaps around doors. Weatherstripping or caulk can help tackle that problem fairly easy for windows.
- Use diffusers: Diffusion is not as imperative as absorption to get great sound clarity. However, diffusion has the benefit of keeping sound energy in your room while eliminating echoes. This is great if you want to try to make a small home recording studio room sound bigger. If you use diffusion, we recommend using a combination of absorption and diffusion to get the best results.
The sound treatment tips listed above will help you create an environment where the quality of sound is optimal and efficient! Remember, home recording studios are awesome for getting your creativity out, so make sure to address the acoustics before you start recording! For more home studio tips and tricks, be sure to check our blog regularly!



1 comment
Great sound treatment hacks! Added soundproof UPVC windows can further enhance acoustic control and reduce external noise effectively.